
I grew up taking Halloween fairly seriously… in that we actively tried to be a little frightening. We didn’t go all expensive, but we would transform the front of the house enough that even my own childhood friends would ask me to go up to our front porch to get some candy for them. We tended not to buy much to begin with and generally considered that any year we actually ran out of candy was something of a disappointment.
The last few years I’ve been fortunate to do (as my niece tends to refer to it) the most boring possible job for a well known entertainment company. For better or worse, I’m a long way away from the entertainment end of the company, but in the pre-pandemic times, they did a trick-or-treat session in the office for the other employees children. My first attempt was a gryphon type thing, 15 feet wide from wingtip to wingtip and stayed up for several months before the head admin made me remove it.
This year I was bit more modestly sized, but a bit more ambitious in detail.
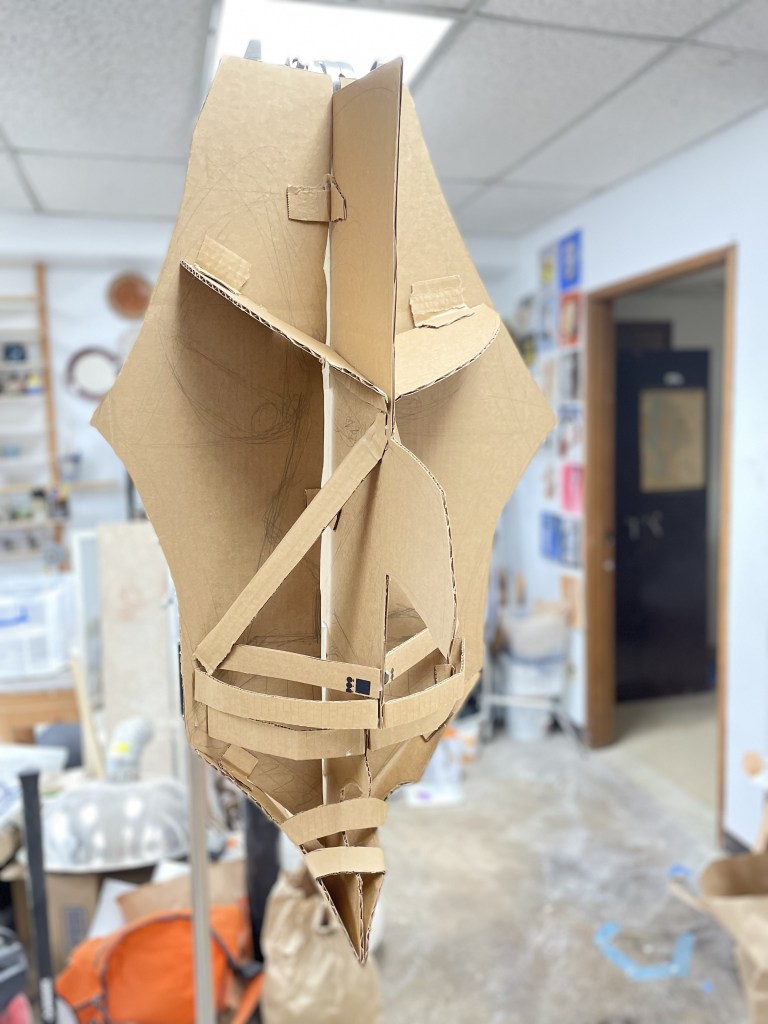
Started with a simple frame of corrugated cardboard and a lot of hot glue. roughly sketching in the framework of the major features.

Adding more and more ribs where necessary. in this case, the area above the eyes would eventually be covered by a large hat, so I didn’t bother filling much of it in.
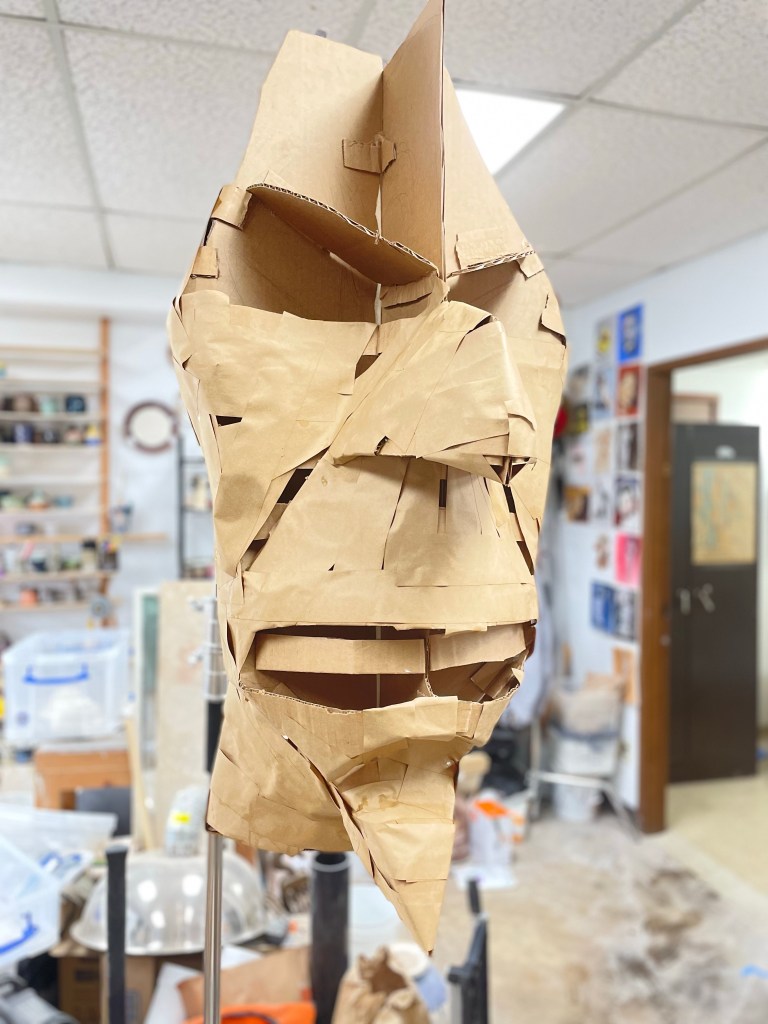
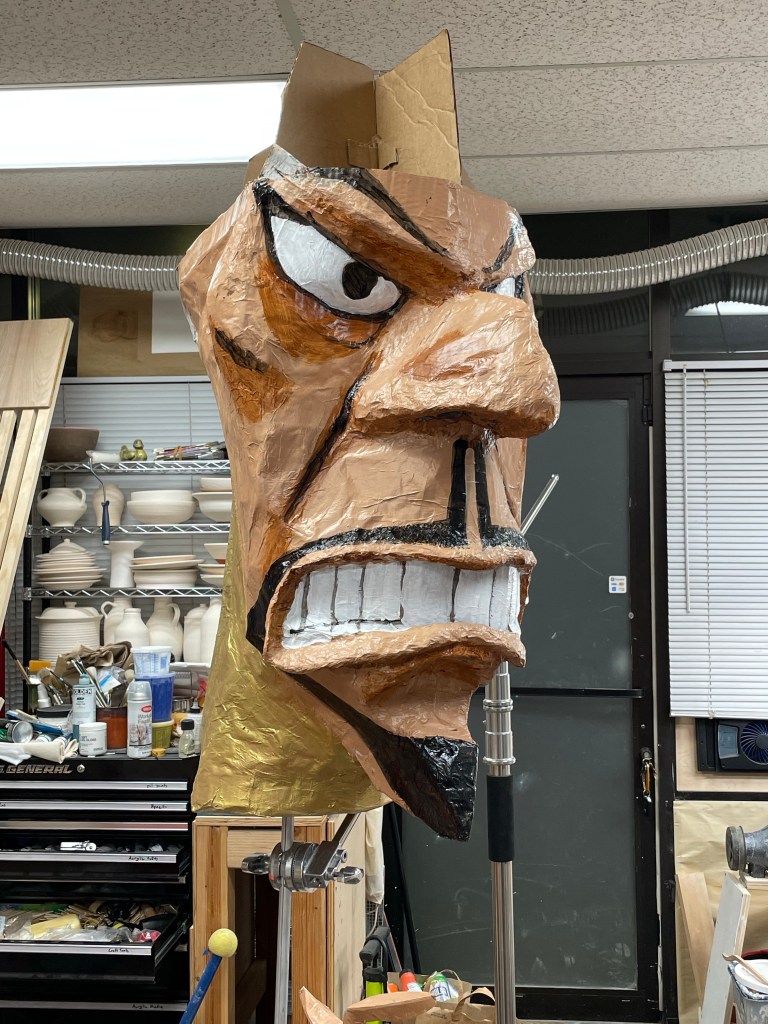
I had a roll of gummed paper tape that I used basically like papier mâché to fill in most of the surface. in away it was a bit wasteful of the tape, but I had gotten it years ago for stretching watercolor paper. but eventually started using staples for that, so it wasn’t doing anything useful anymore, and it really does make a nice structure, very stiff and strong compared to newspaper or similar.

Here you can see the added hat. still just slipped over the top, it won’t get permanently affixed until installation. construction is pretty much the same as the head though.

I picked up a package of premade paper ‘clay’, (a phrase that has many definitions, here it means a chopped cellulose with a water activated glue. molds like clay, but purely ground up paper.) which comes in a slab that you break up and add a quart of water to. when it’s all wet, you get a paper goo that has similar properties to clay, but a bit more fibrous, that you can just mold into a shape and wait for it to dry. I used that for filling in the lips, rounding out the nose and the eyebrows… And wait, and wait…
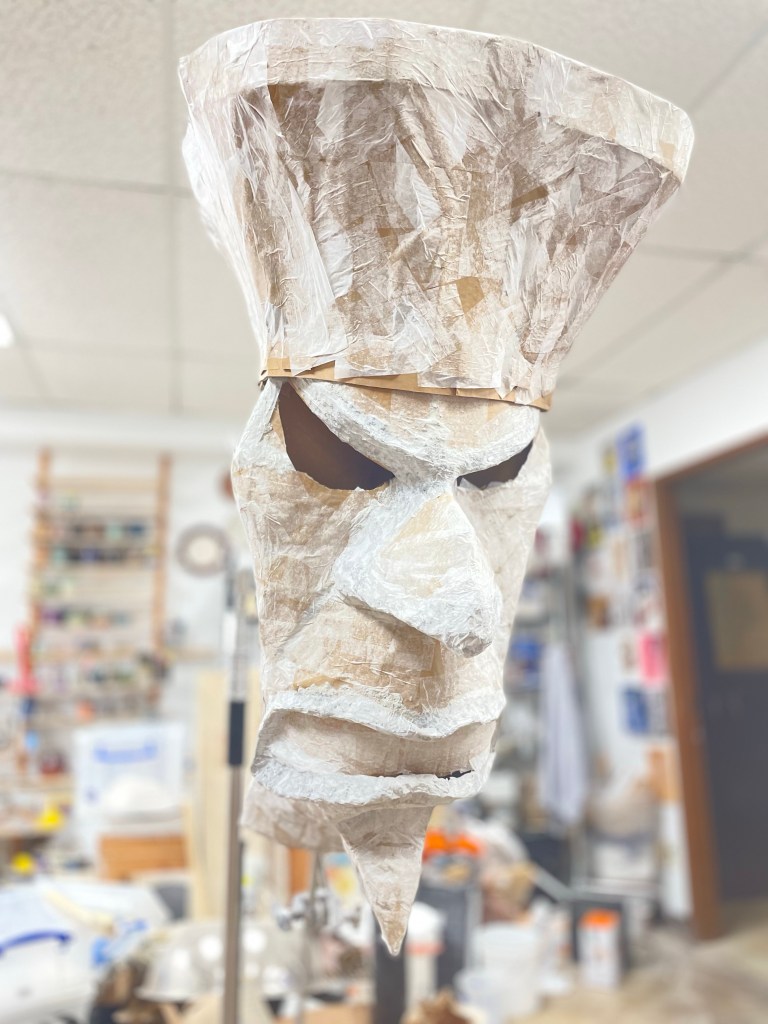
Or not… Once that was on, I started on the decoupage layer. In this case it was done with tissue paper and acrylic gesso. basically paint a small area with the gesso, lay down bits of tissue, then paint over it with the gesso, impregnating the paper with the acrylic. It’s a nice medium to work with, and nicely smooths out a lot of larger surface imperfections. it’s pretty weak for large spans, but once there’s a good amount of acrylic in there, it can take a bit of abuse.
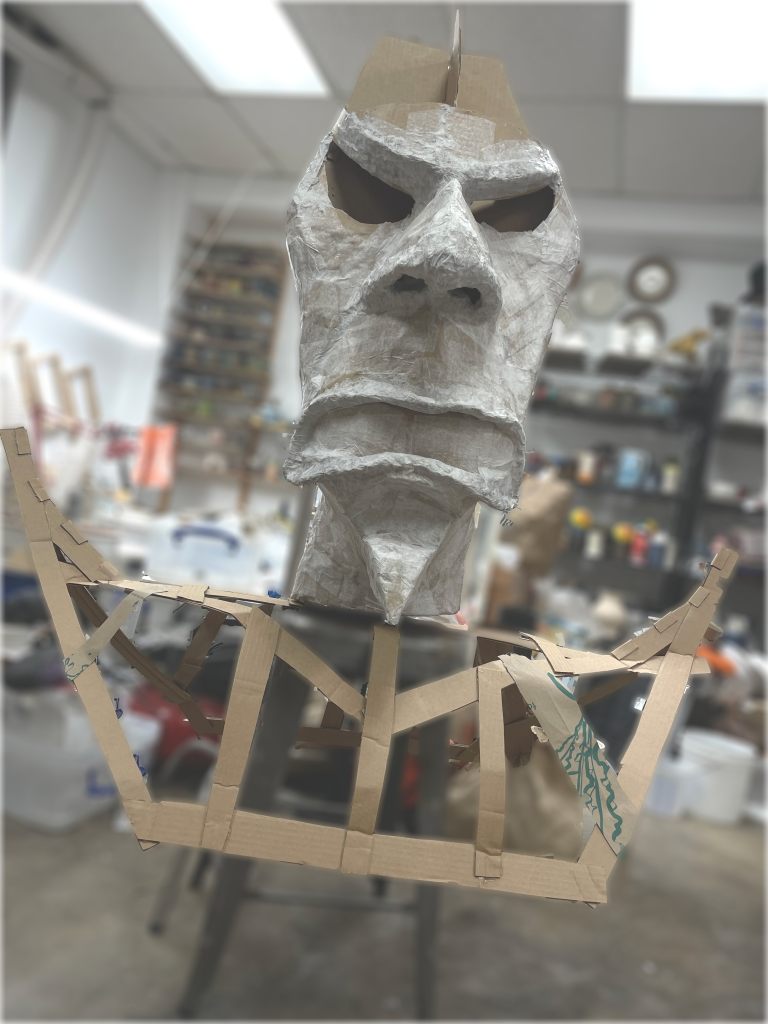
Needed a shoulder unit to bulk out the body, again not permanently affixed until installation. I did fill in some of the larger gaps with more cardboard or cut up shopping bags, before moving straight on to the tissue paper. it might have helped a lot to have used the tape here as well, but I was running up against time.
again, skipped over a bit here. the most interesting part of the intervening work was the eyes. for those, I took a rubber bowl, (which I should have covered with some Saran Wrap first, but I didn’t have any.) and built up 6-7 layers of tissue paper and acrylic medium (not gesso this time, the medium has much more plastic in it.) on the outside of the bowl, and when that had dried, peeled the resulting form off the bowl and cut it out so it would fit just inside the eye socket. then used more tissue paper to bridge the gap and glue the eyeball into place. you can sort of see the convexness of the eyes.
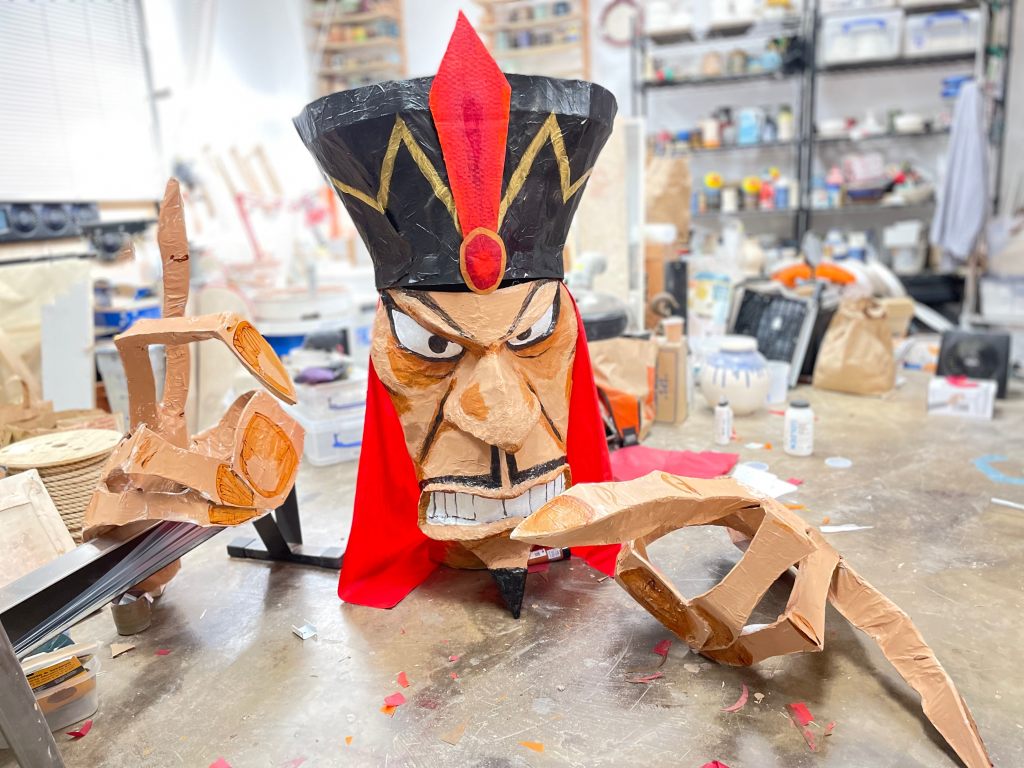
the same technique was used on the jewel on his hat, which as you might be able to see is a bit convex. I used red and orange tissue paper on the jewel and attached feather, rather than the white, and as you can see the colors bled a bit to make a nice gradient. the jewel then had a couple layers of white tissue applied to the back to help make it a bit brighter. If I do this again, I’ll think about adding lights behind that kind of surface, as the resulting tissue/acrylic material is delightfully translucent. It’s sort of like a dirty stained glass, but still very flexible. it really is a nice material. The hands are built in much the same way as the head, though a bit more quick and dirty. some of the volume of the hand is made up of rolling up tubes of paper made of shopping bags and taping them to the cardboard hand, then applying just the decoupage skin over them.
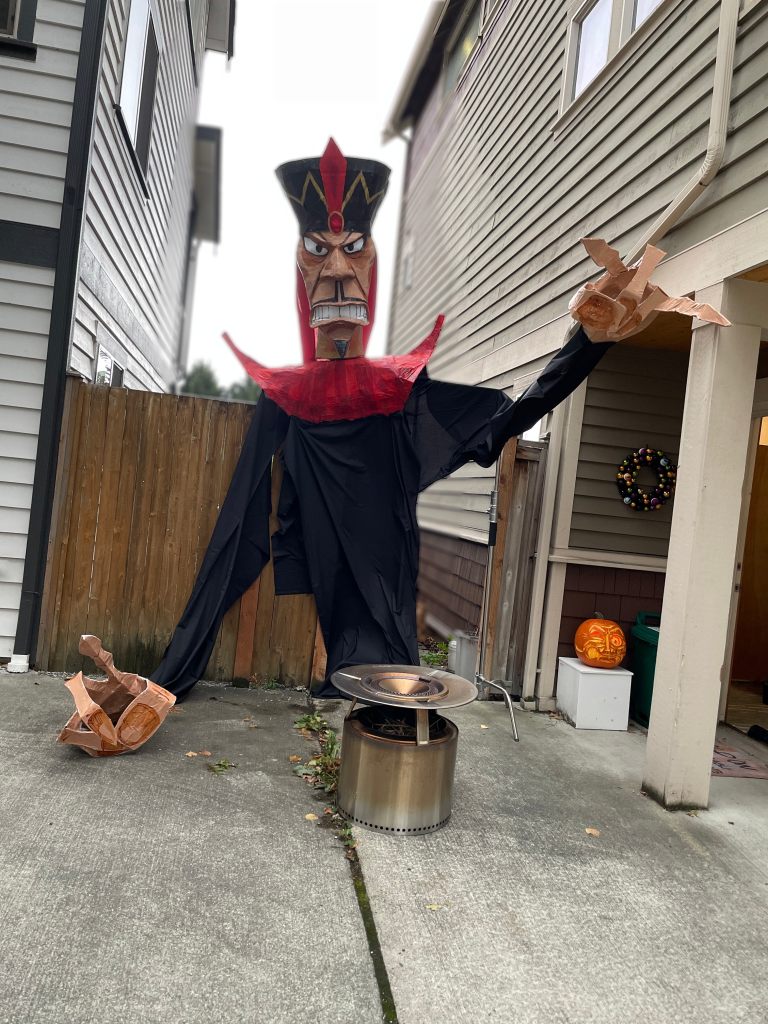
It looked better later in the evening with the fire lit and a group of us sitting around the fire handing out candy, but I was enjoying the atmosphere and forgot to take more pictures…

